
P2V conversion guide for Disk2VHD
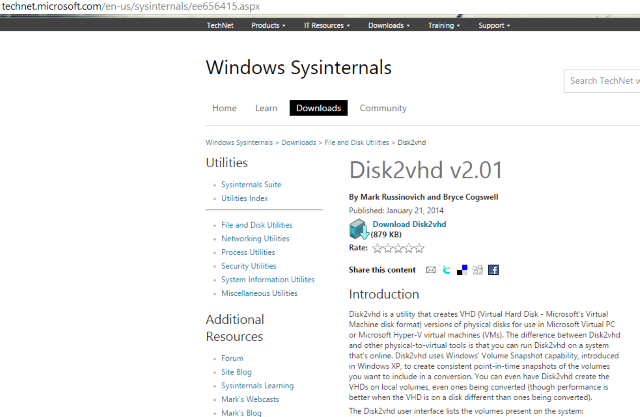
Among different P2V converters for Hyper-V, there is one I find to be the most suitable for this operation, it’s called Disk2VHD. It is written by Microsoft engineers, weighs about 0.9 MB, doesn’t require installation and is available on the official Windows Sysinternals page. So, let’s get down to business now!
Step 1. Download Disk2vhd utility
Go to the Windows Sysinternals page and download the utility.
Step 2. Run Disk2vhd on the physical server you are converting
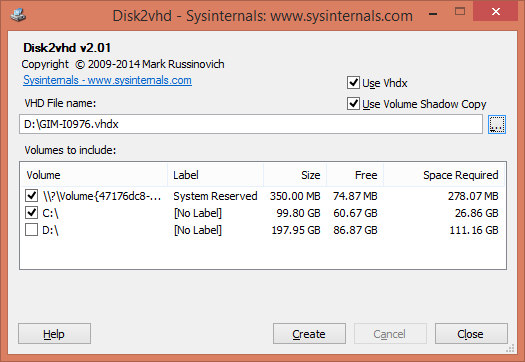
Just unpack the utility and run it on a server. The interface is very simple, as you can see in the graphic. Check Use Vhdx to create a VHDX disk.
NOTE: VHDX is a new disk format that was introduced in Windows Server 2012. Compared to traditional VHD, VHDX has several improvements, including a special internal log to reduce the chances of data corruption, a bigger capacity (up to 64 TB) and other great features. I recommend using VHDX whenever possible.
Select Use VSS if you would like to get a transaction-consistent version of a disk and not a crash-consistent version. Select the destination for the VHDX file. (Don’t pick the same disk or it could cause an “inception,” much better to use a different hard disk for storing that image.) Include any disk/volume you want to virtualize. If you want it to be a bootable disk, then include a system disk plus boot area (tick System Reserved label). Click Create to start the process.
Step 3. Convert disk(s) to VHDX format and copy it to Hyper-V host
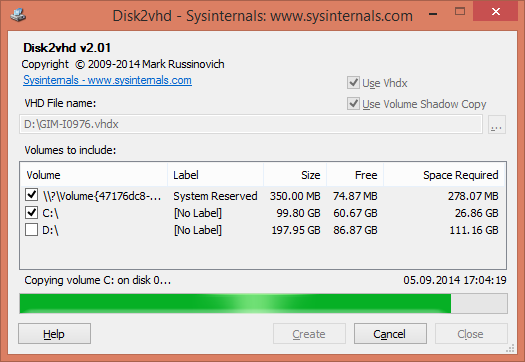
While the process is running, you’ll see the estimated time of its completion.
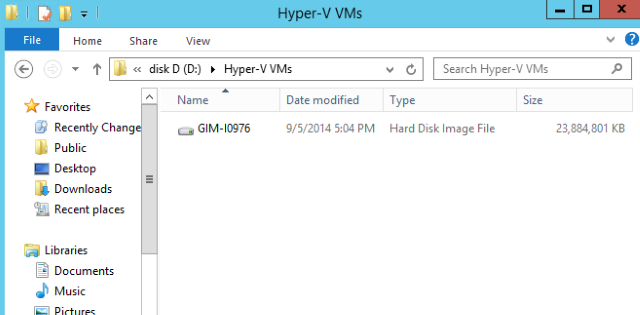
As a result of the operation, you’ll get a VHDX file/disk, which you can now copy to your Hyper-V server and place in the folder where you have the VM disks.
Step 4. Create a new VM on a Hyper-V host
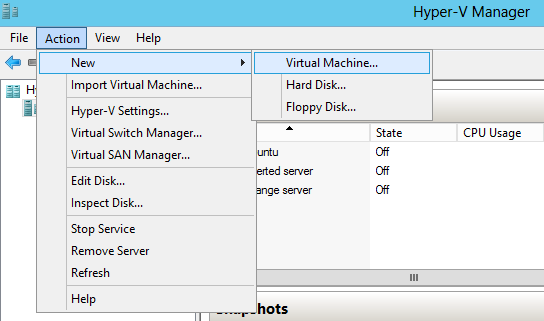
To use a created disk, you should create a VM first. Run the New → Virtual Machine wizard in Hyper-V Manager and configure it according to your needs. Configuration options are simple, except maybe for the VM generation selection (appears in Windows Server 2012 R2 only).
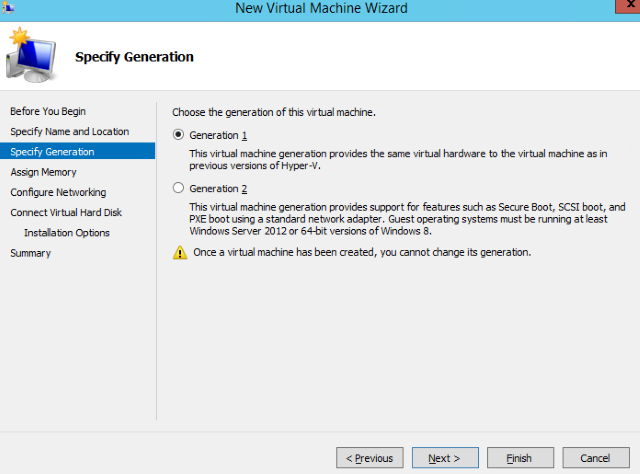
NOTE: Choose your VM generation carefully. Starting with Windows 2012 R2, Hyper-V has a new option: Generation 2 virtual machine. This is a second generation firmware for VMs with a revised set of virtual hardware and new opportunities for users, such as a boot from an SCSI device. There will be more to come on this topic in future releases. Among noticeable limitations of Generation 2 VMs, is that there is no support for a guest OS older than Windows 8, not to mention Unix-like. Practically speaking, choose this only for Windows 8/8.1 or Windows Server 2012/2012 R2 and only for 64-bit builds.
This explains why you should choose VM generation accordingly and stick to Generation 1, unless you’re 100% sure you need to use Generation 2.
Step 5. Insert the created disk
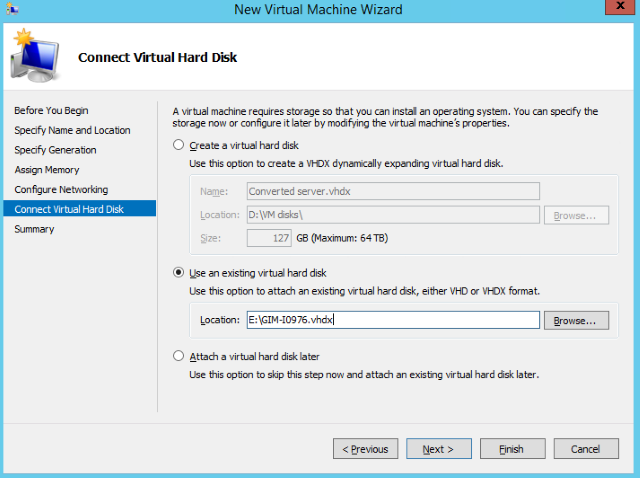
On the step Connect Virtual Hard Disk, you should also configure the virtual hard disk, so then pick a disk you already have and complete the rest of the steps in the wizard.
Step 6. Run a VM and enjoy it
Right-click on a VM, select Run, then right-click again and connect to it.
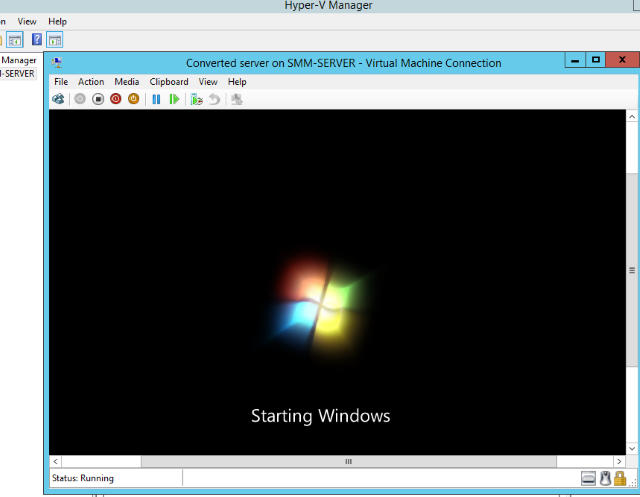
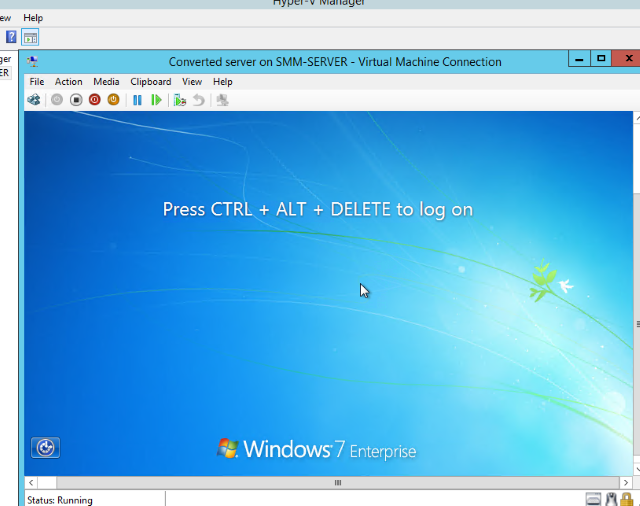
It will take some time for the VM to boot up since the hardware configuration will be different. However, in a few minutes you’ll see the welcome screen and be ready to log in to the system. Congratulations!
That’s it, folks!
Enjoy being virtualized and don’t forget to protect your VMs by doing virtual backup with Veeam!
